Friday 30 December 2016

Born Pretty Store Eyeliner Review

PACKAGING: The eyeliners come in a very simple matte plastic packaging. You can easily know what shade you are getting because the color of the tube is the same as its shade. Its handle is pretty long so you can really have a nice grip on it while applying and has a felt tip applicator. When I first tried it I noticed that the tip is so hard and pointed and it is not good at all, it's very stiff that it might hurt your eye while applying. Seriously, I almost got my left eye hurt. So what I did was continues stroke on the back of my hand until the tip became soft. Thankfully after that I don't have any problem applying it.

  • Is it smudge-proof? -Yes, it is. I did not expect it to be though. And no matter how harsh you'll rub it, it'll definitely stay as it is. 
  • Water-proof? Impressively, a yes also. It will stay put on your eyes even if it rains or you cry but remember not to rub it when wet because it will come off easily. :)

VERDICT: These liquid eyeliners did a good job! They look good when worn and will really compliment your eyes. With these, it is fine not to apply an eyeshadow as it will pop your eyes already.
Some might find it hard to apply with a very runny consistency and the hard, pointed applicator; they should make it softer to avoid hurting your eyes/skin. 
 
 I APPLIED THIS EYELINER IN TWO DIFFERENT WAYS AND HOPE YOU WILL LIKE IT.

 YOU CAN BUY IT AT www.bornprettystore.com

Sunday 18 December 2016

BornPretty Water Decals Review + Demo

((PRESS SAMPLES))
Hello and happy Sunday!!! Didn’t the weekend go by fast!?! I know mine did lol. Anyway, I have Born Pretty Store Water Decals review for you today. Not sure how you feel about water decals but I think they are awesome for the days I am too lazy to do nail art :D

How to apply water Decals :-

1) First take the decal according to your nail size and trim it if needed.

2) Now take the decals and dip them in a glass of water with help of tweezers as shown in the picture below:


3) Now put the decal on your nail and press them according to its shape.
4) Cut the excess and smooth down the decal using a filer or a buffer .
5) Finally apply fast drying top coat and you are done but keep one thing in mind that you should be doing one nail at a time.
Links to the products mentioned above :

  1. WATER DECALS :-  http://www.bornprettystore.com/born-pretty-nail-water-decals-c-268_699_700.html
  2. FILER OR BUFFER :- http://www.bornprettystore.com/file-buffer-c-268_32_62.html
  3. TOPCOAT :- http://www.bornprettystore.com/2pcs-nail-base-coat-clear-polish-topcoat-glossy-cover-hardener-p-3309.html  

Wednesday 23 November 2016

Acrylic Stamping Plates ~ Review

You’ve probably recently been hearing some rumblings around the polish community about acrylic stamping plates. As a self professed stamping addict I had to try some out for myself. So off to AliExpress I went to grab a few inexpensive plates.
Acrylic Stamping Plates

Size Comparison with Bundle Monster XL
Acrylic Stamping Plate Close Up
Plate XY-L29
Size Comparison with Bundle Monster XL
Plate XY-L28
Size Comparison with Bundle Monster XL
Plate XY-L19
All of these swatches are done using a Fab Ur Nails stamper. The first row is the image on the plate, second row is stamper pick up with Sinful Colors White on White, and last row is stamper pick up with Mundo de Unas White.
And a quick stamped mani for detail; using plate XY-L28, clear jelly stamper, and MdU black.

I felt like these plates were okay, but certainly not my first choice for a stamping plate. The cost of these were about $.99 cents each, I would be more inclined to spend a little more to get a Born Pretty plate.
They clearly don’t do well on fine detail with the standard polish. Most of the images picked up okay with the stamping polish, but it’s still not the quality you would see with most stamping plates. If you were looking for a low priced option to just learn the basics of stamping maybe they would be a good option, but they definitely wouldn’t keep an experienced stamper happy for long.
There are a few name brands that are starting to release acrylic plates (CICI & SISI) which would likely be a better quality, I will probably pick one of those up soon to give  it a try.
Have you tried acrylic stamping plates or do you think you might at some point?
Edited to add: I also found these hard to clean after use. I felt like there was still a thin layer of polish left, regardless of using straight acetone or polish remover. It seems this could be a problem over time if it built up in the etched lines.

Until next time, stay polished!

Paisley Water Decals - BPS review

Paisley Water Decals from Born Pretty Store

Paisleys are my favorite pattern so I just love these paisley water decals from Born Pretty Store.  They come in lots of varieties, the ones I chose have a red background that reminded my of one of Zoyas red cremes, Demetria (from the Island Fun Collection). So Demetria is my base color here.
 
Paisley Water Decals from Born Pretty Store


These water decals are full nail decals and I covered two of the nails with them. For the others I used only parts of the pattern. I like it better that way because it's more fun to match the decals with a polish but the truth is that this decal sheet is very small so I don't think I would be able to use it as full nail decals on all of my nails.

Paisley Water Decals from Born Pretty Store
So the only negative thing about these decals is that I wish that the sheet was larger but I'm very happy with the pattern and with the quality. You can find this and other paisley decals here .

(( PRESS SAMPLES ))

Born Pretty Store Review - Full Water Decals

((PRESS SAMPLES))

Hiya!
I'm back with my final review for Born Pretty Store - you can see the previous two here and here.
This time I'm reviewing their Flower Water Decals, which you can see on their website here. I wore these for 4 days without any issues.

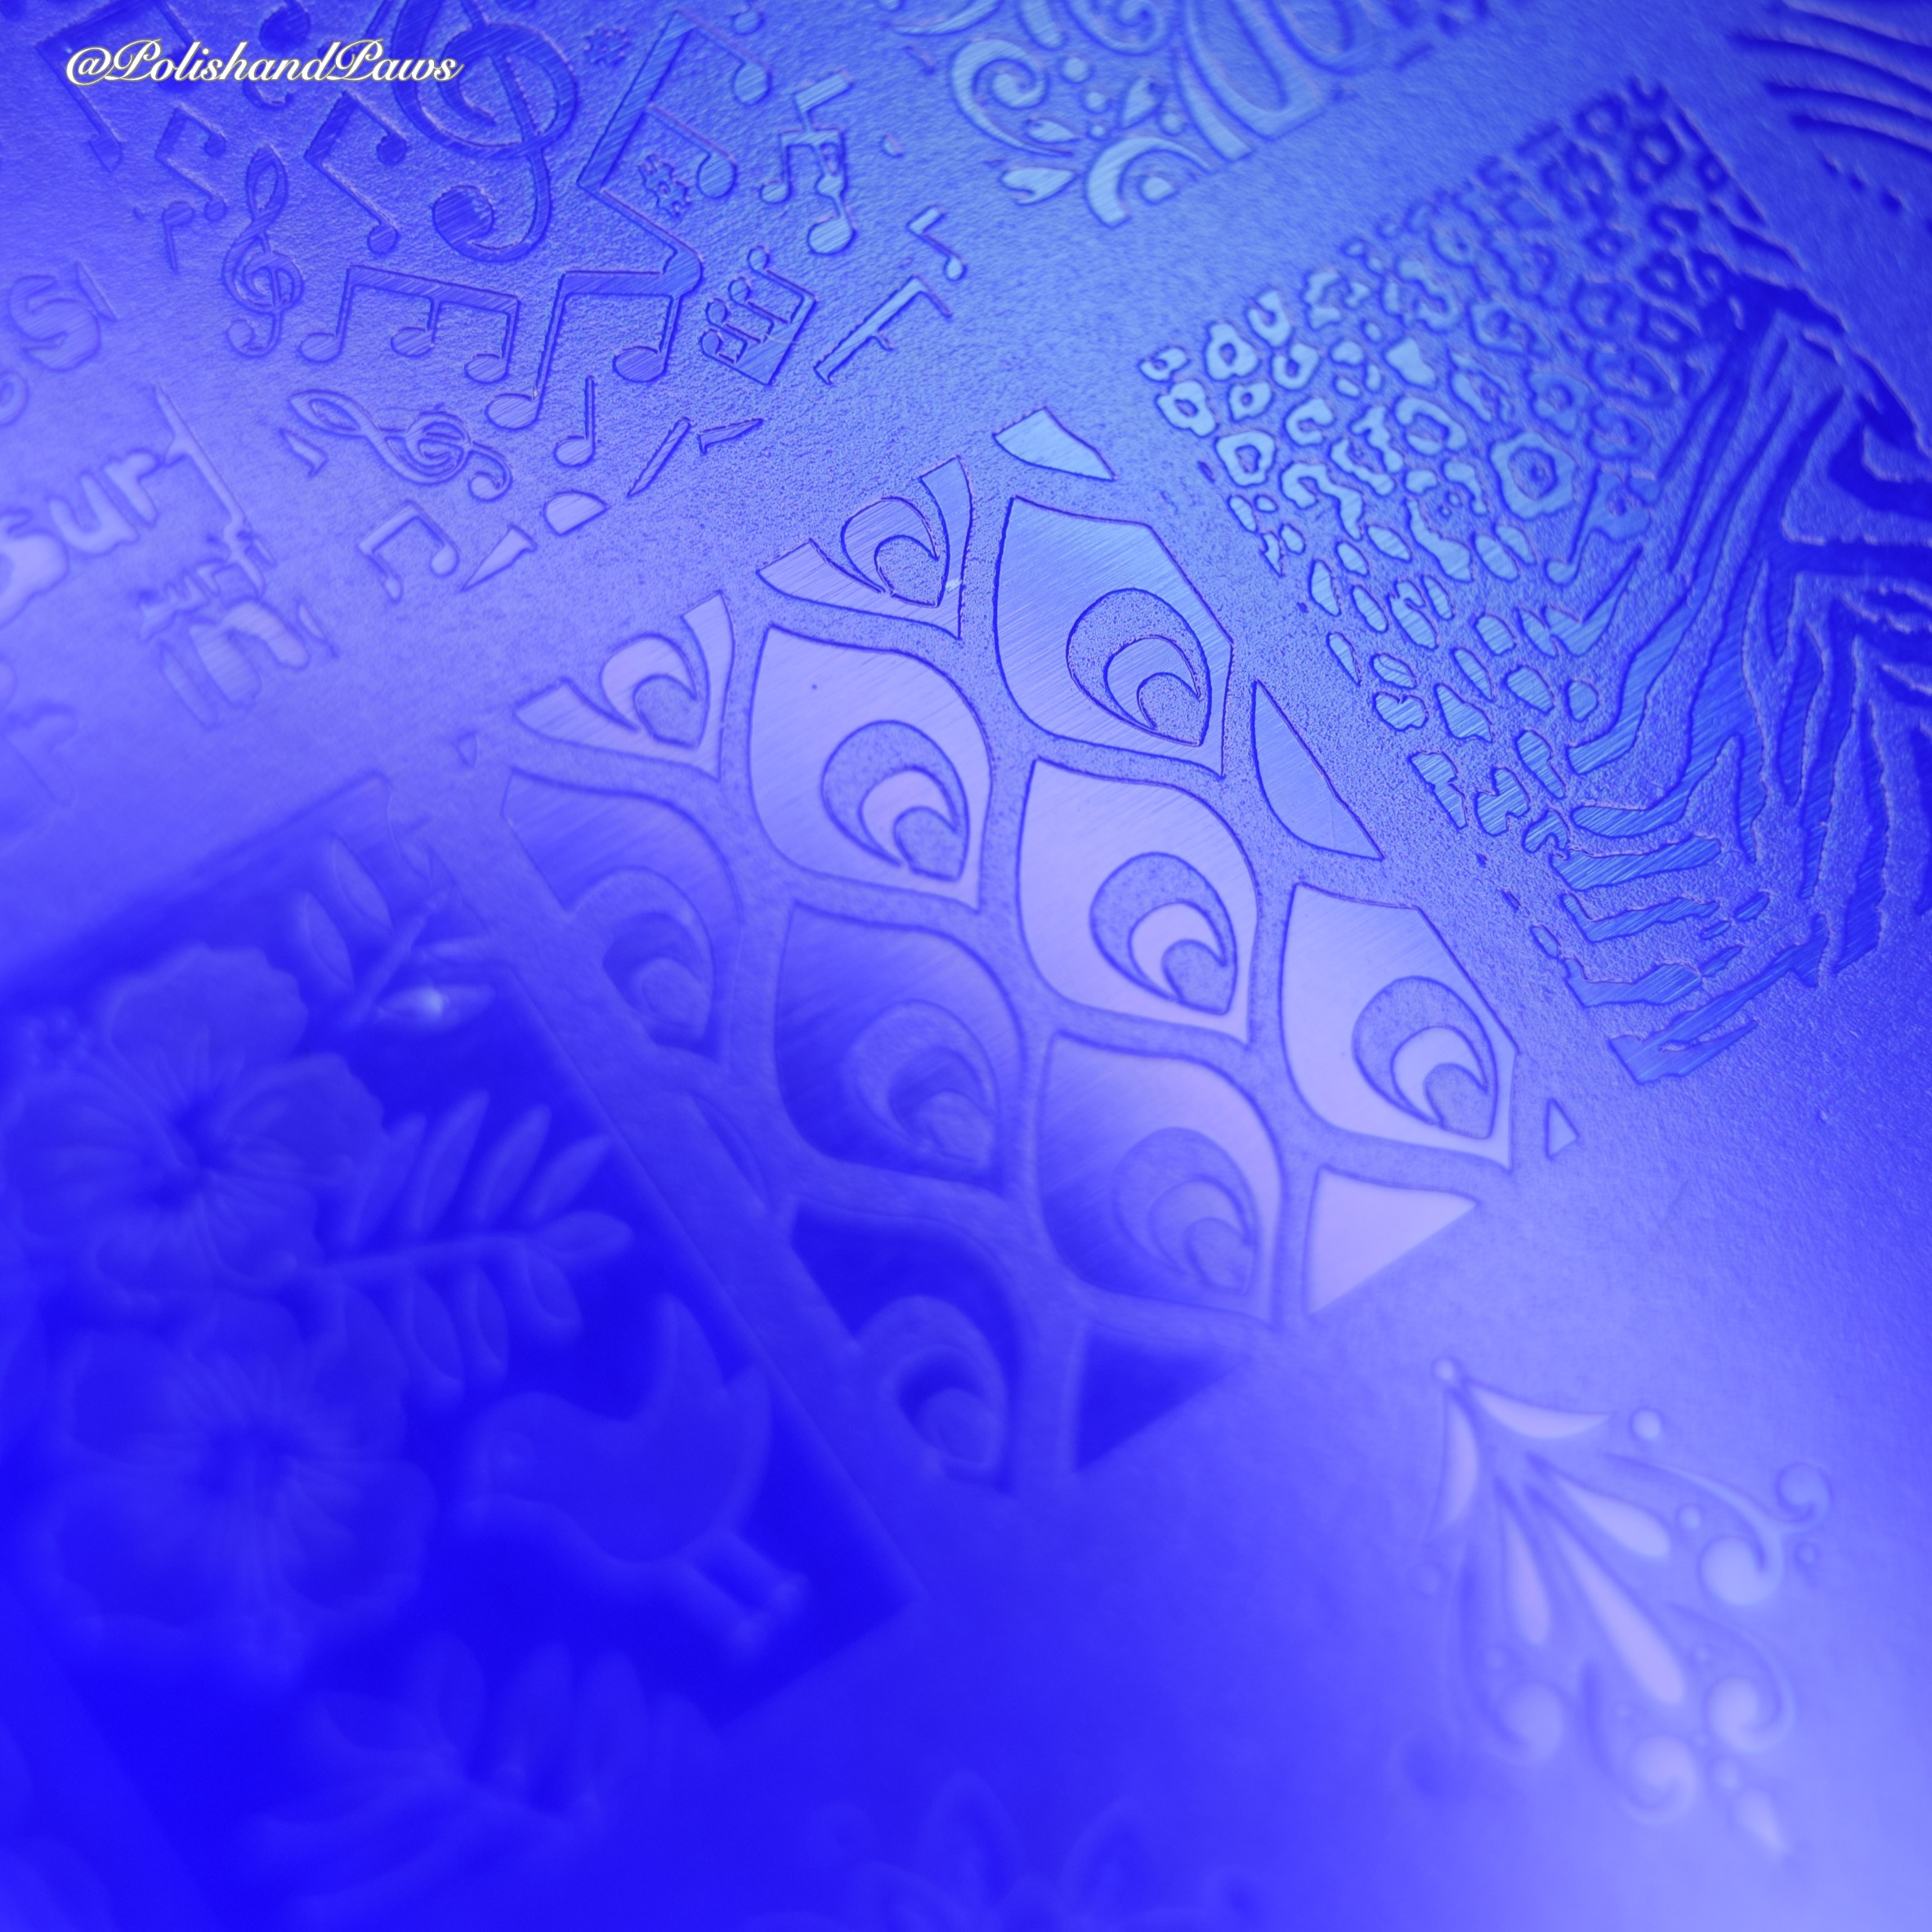
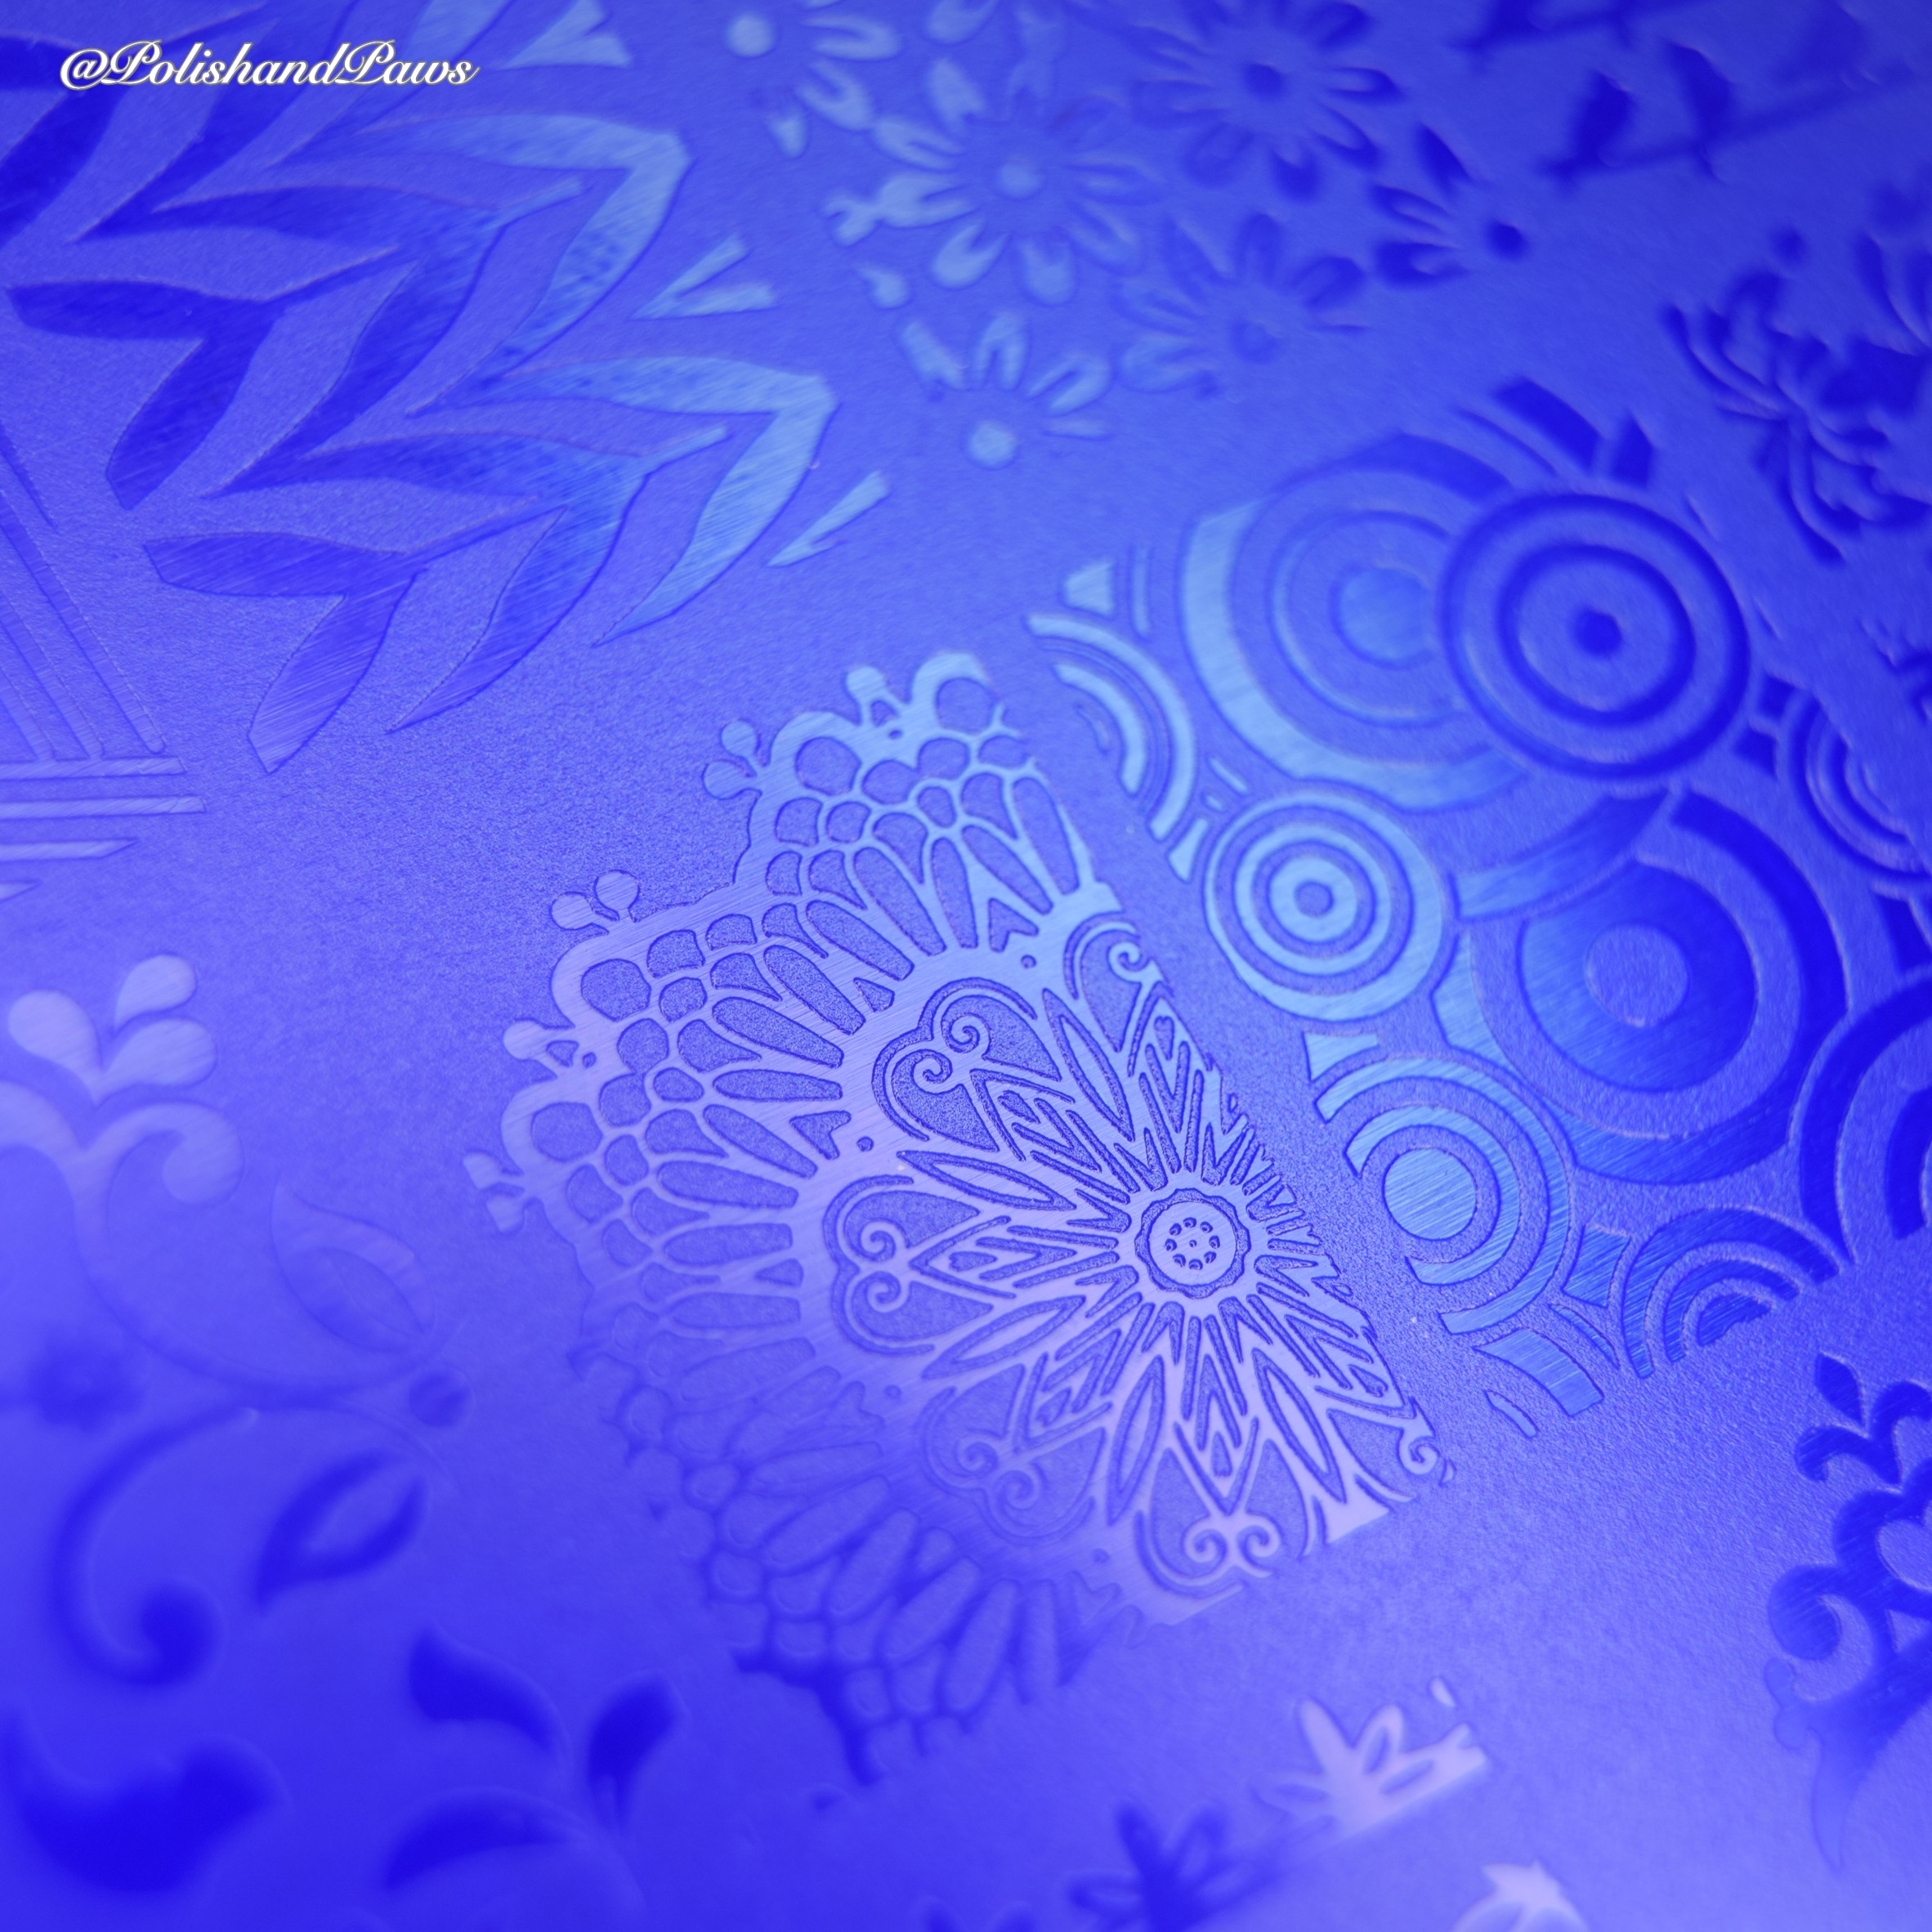
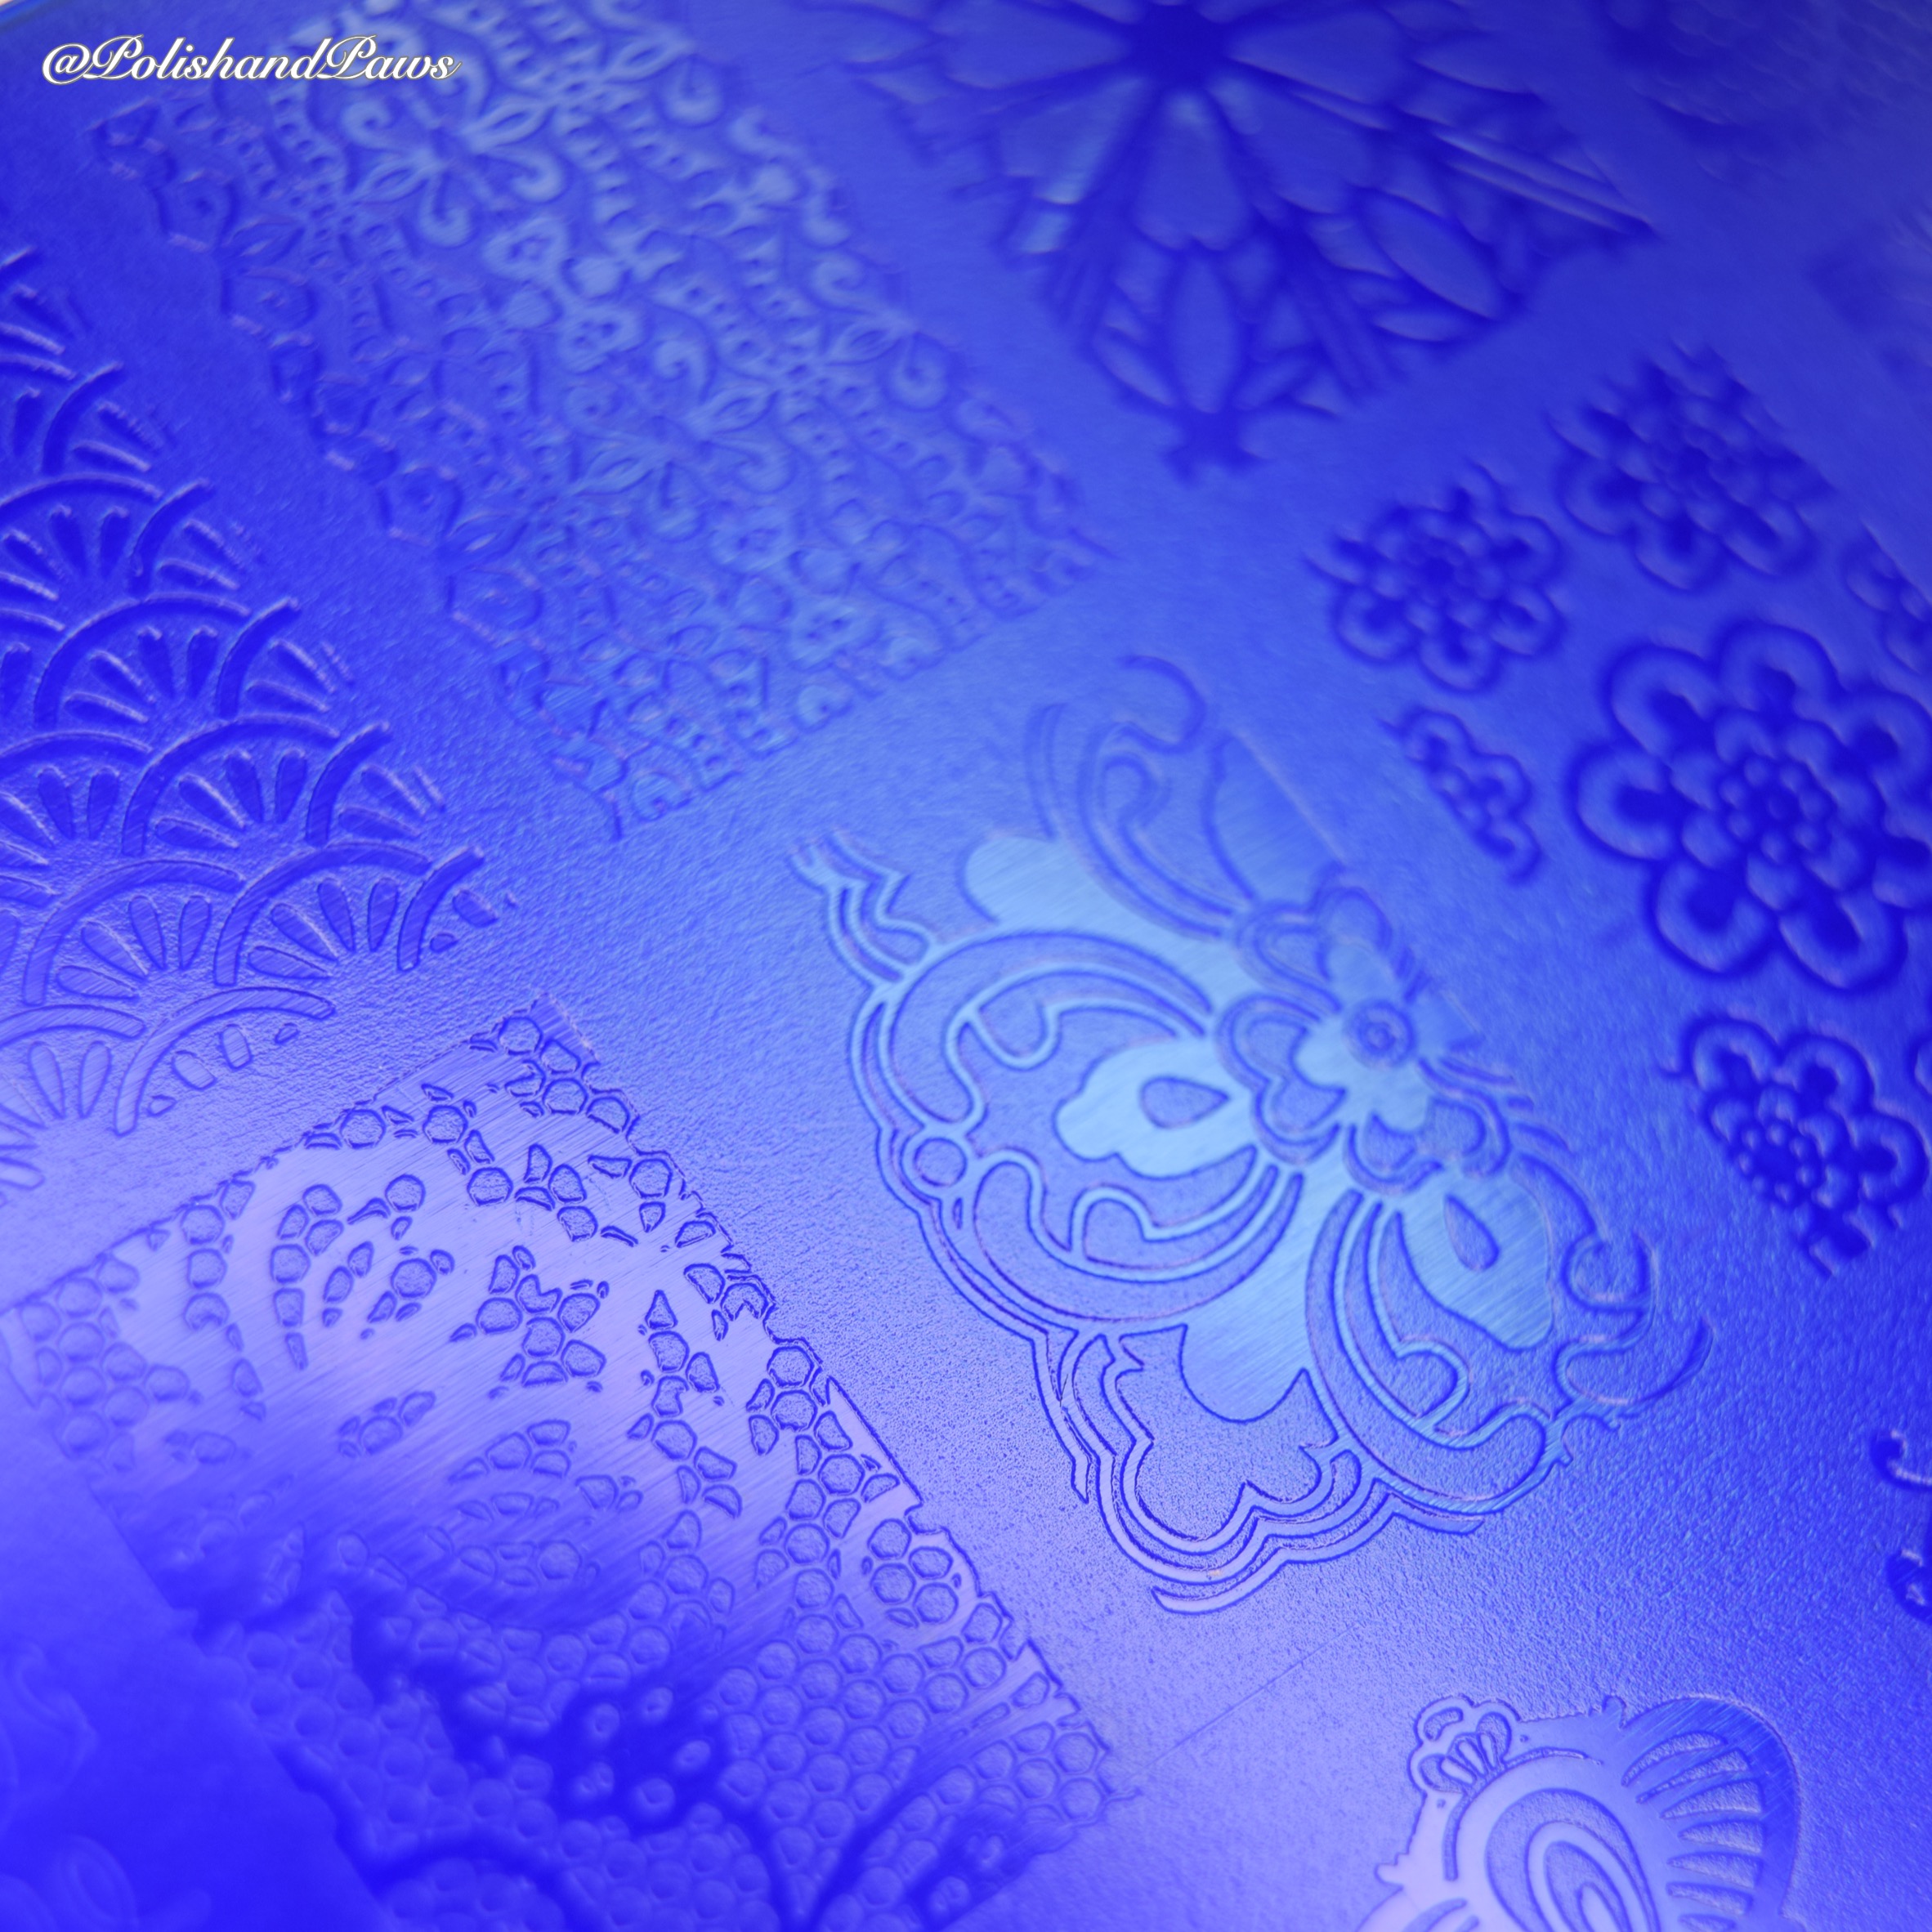
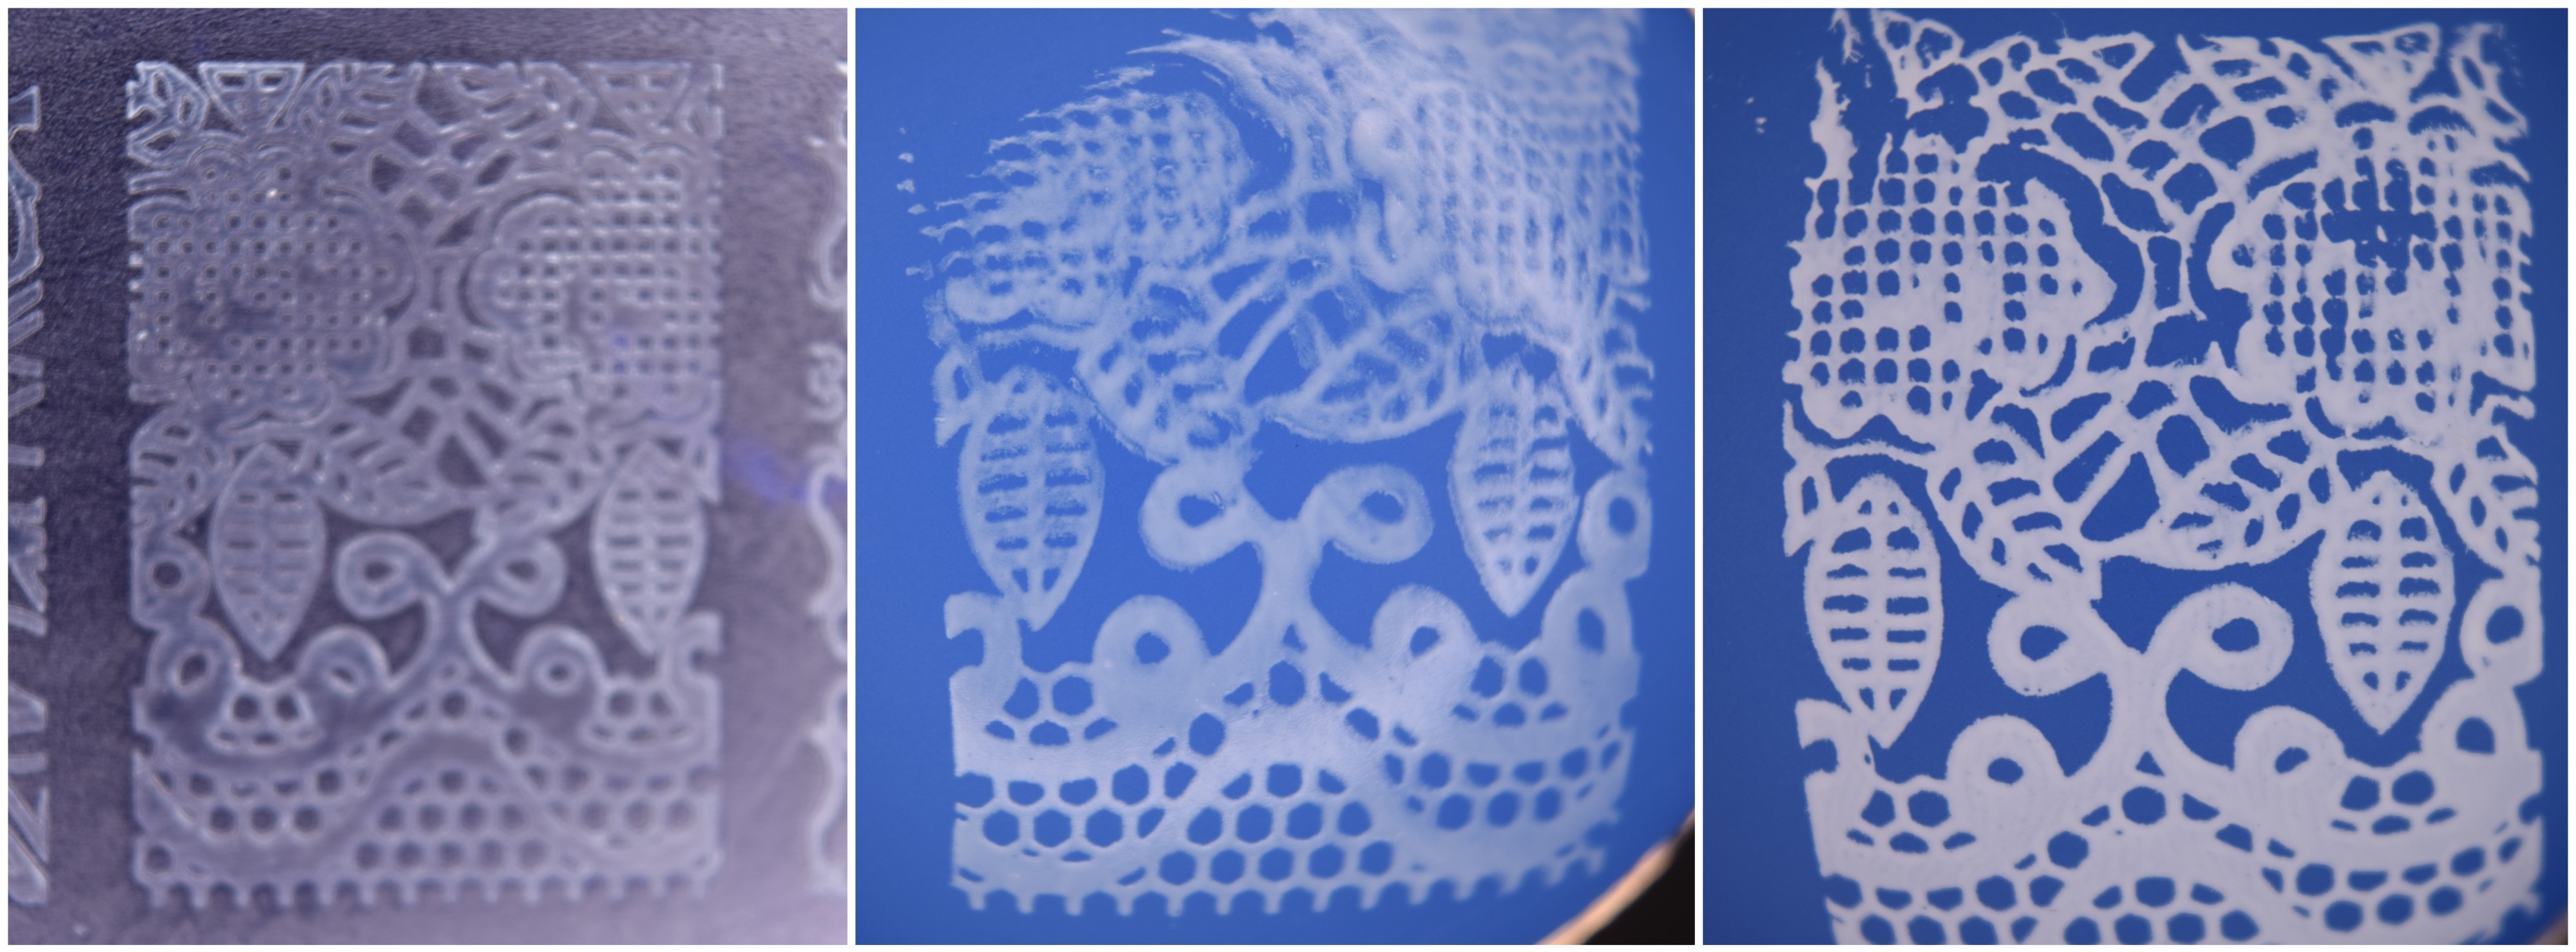
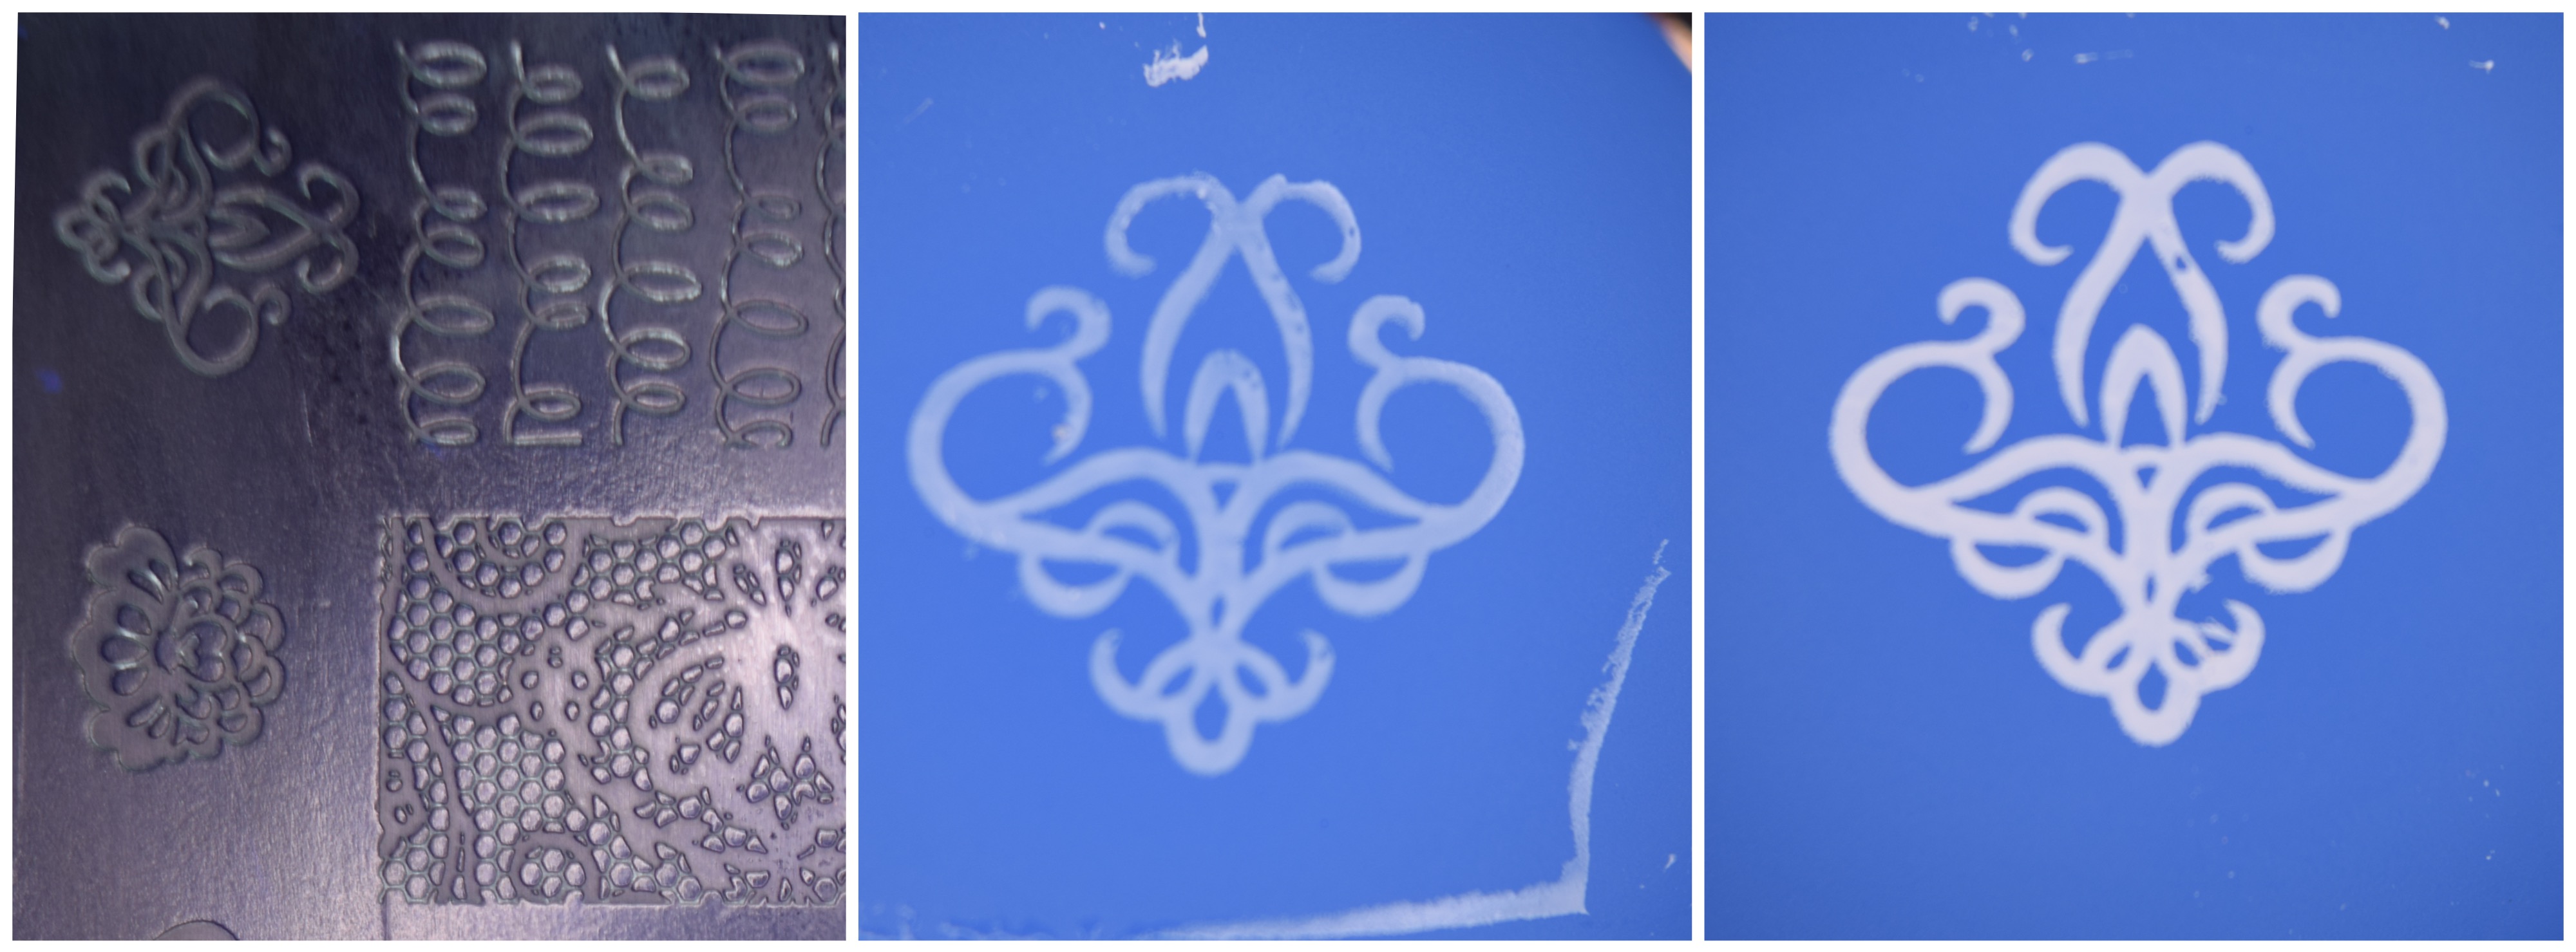
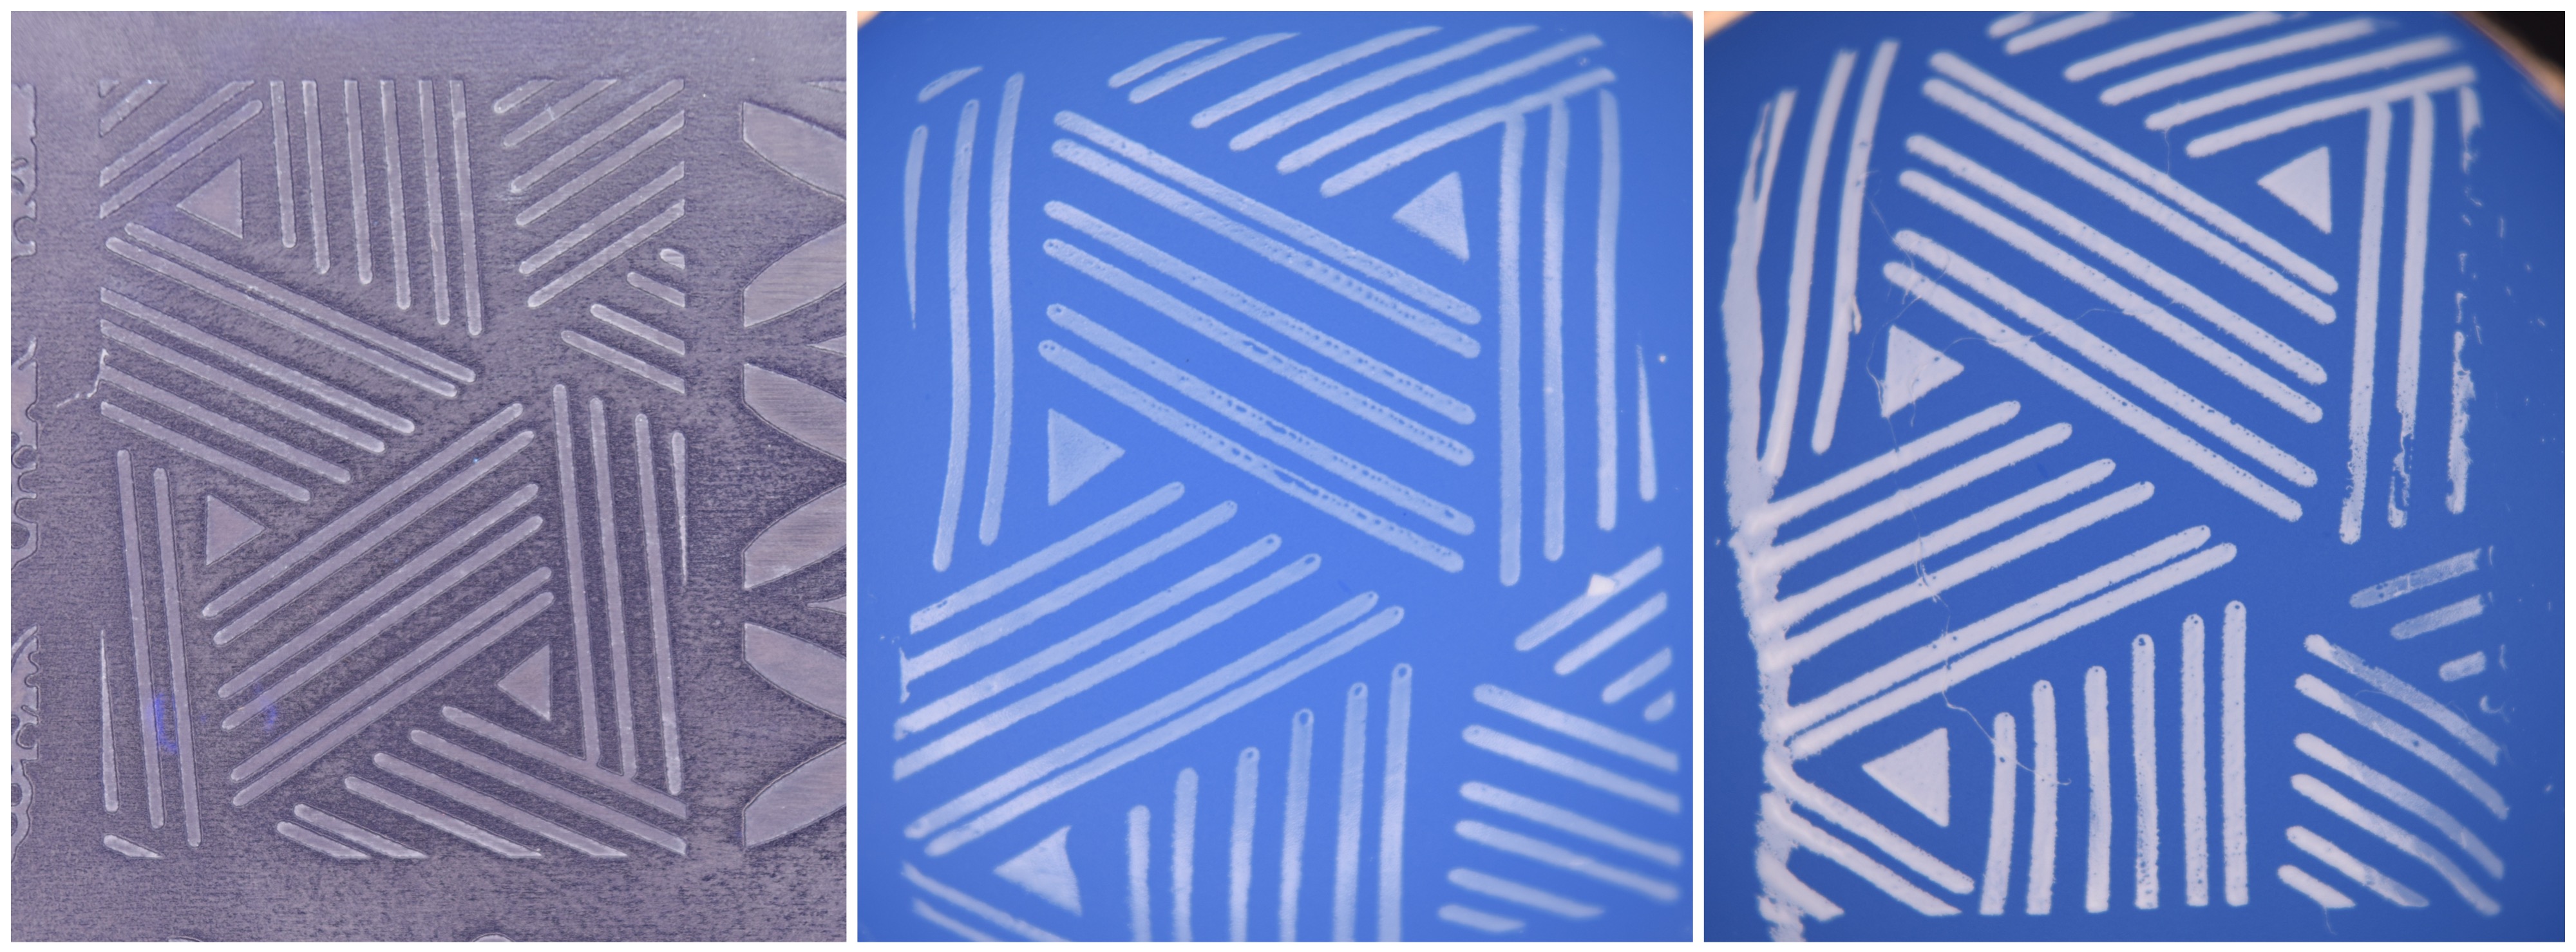
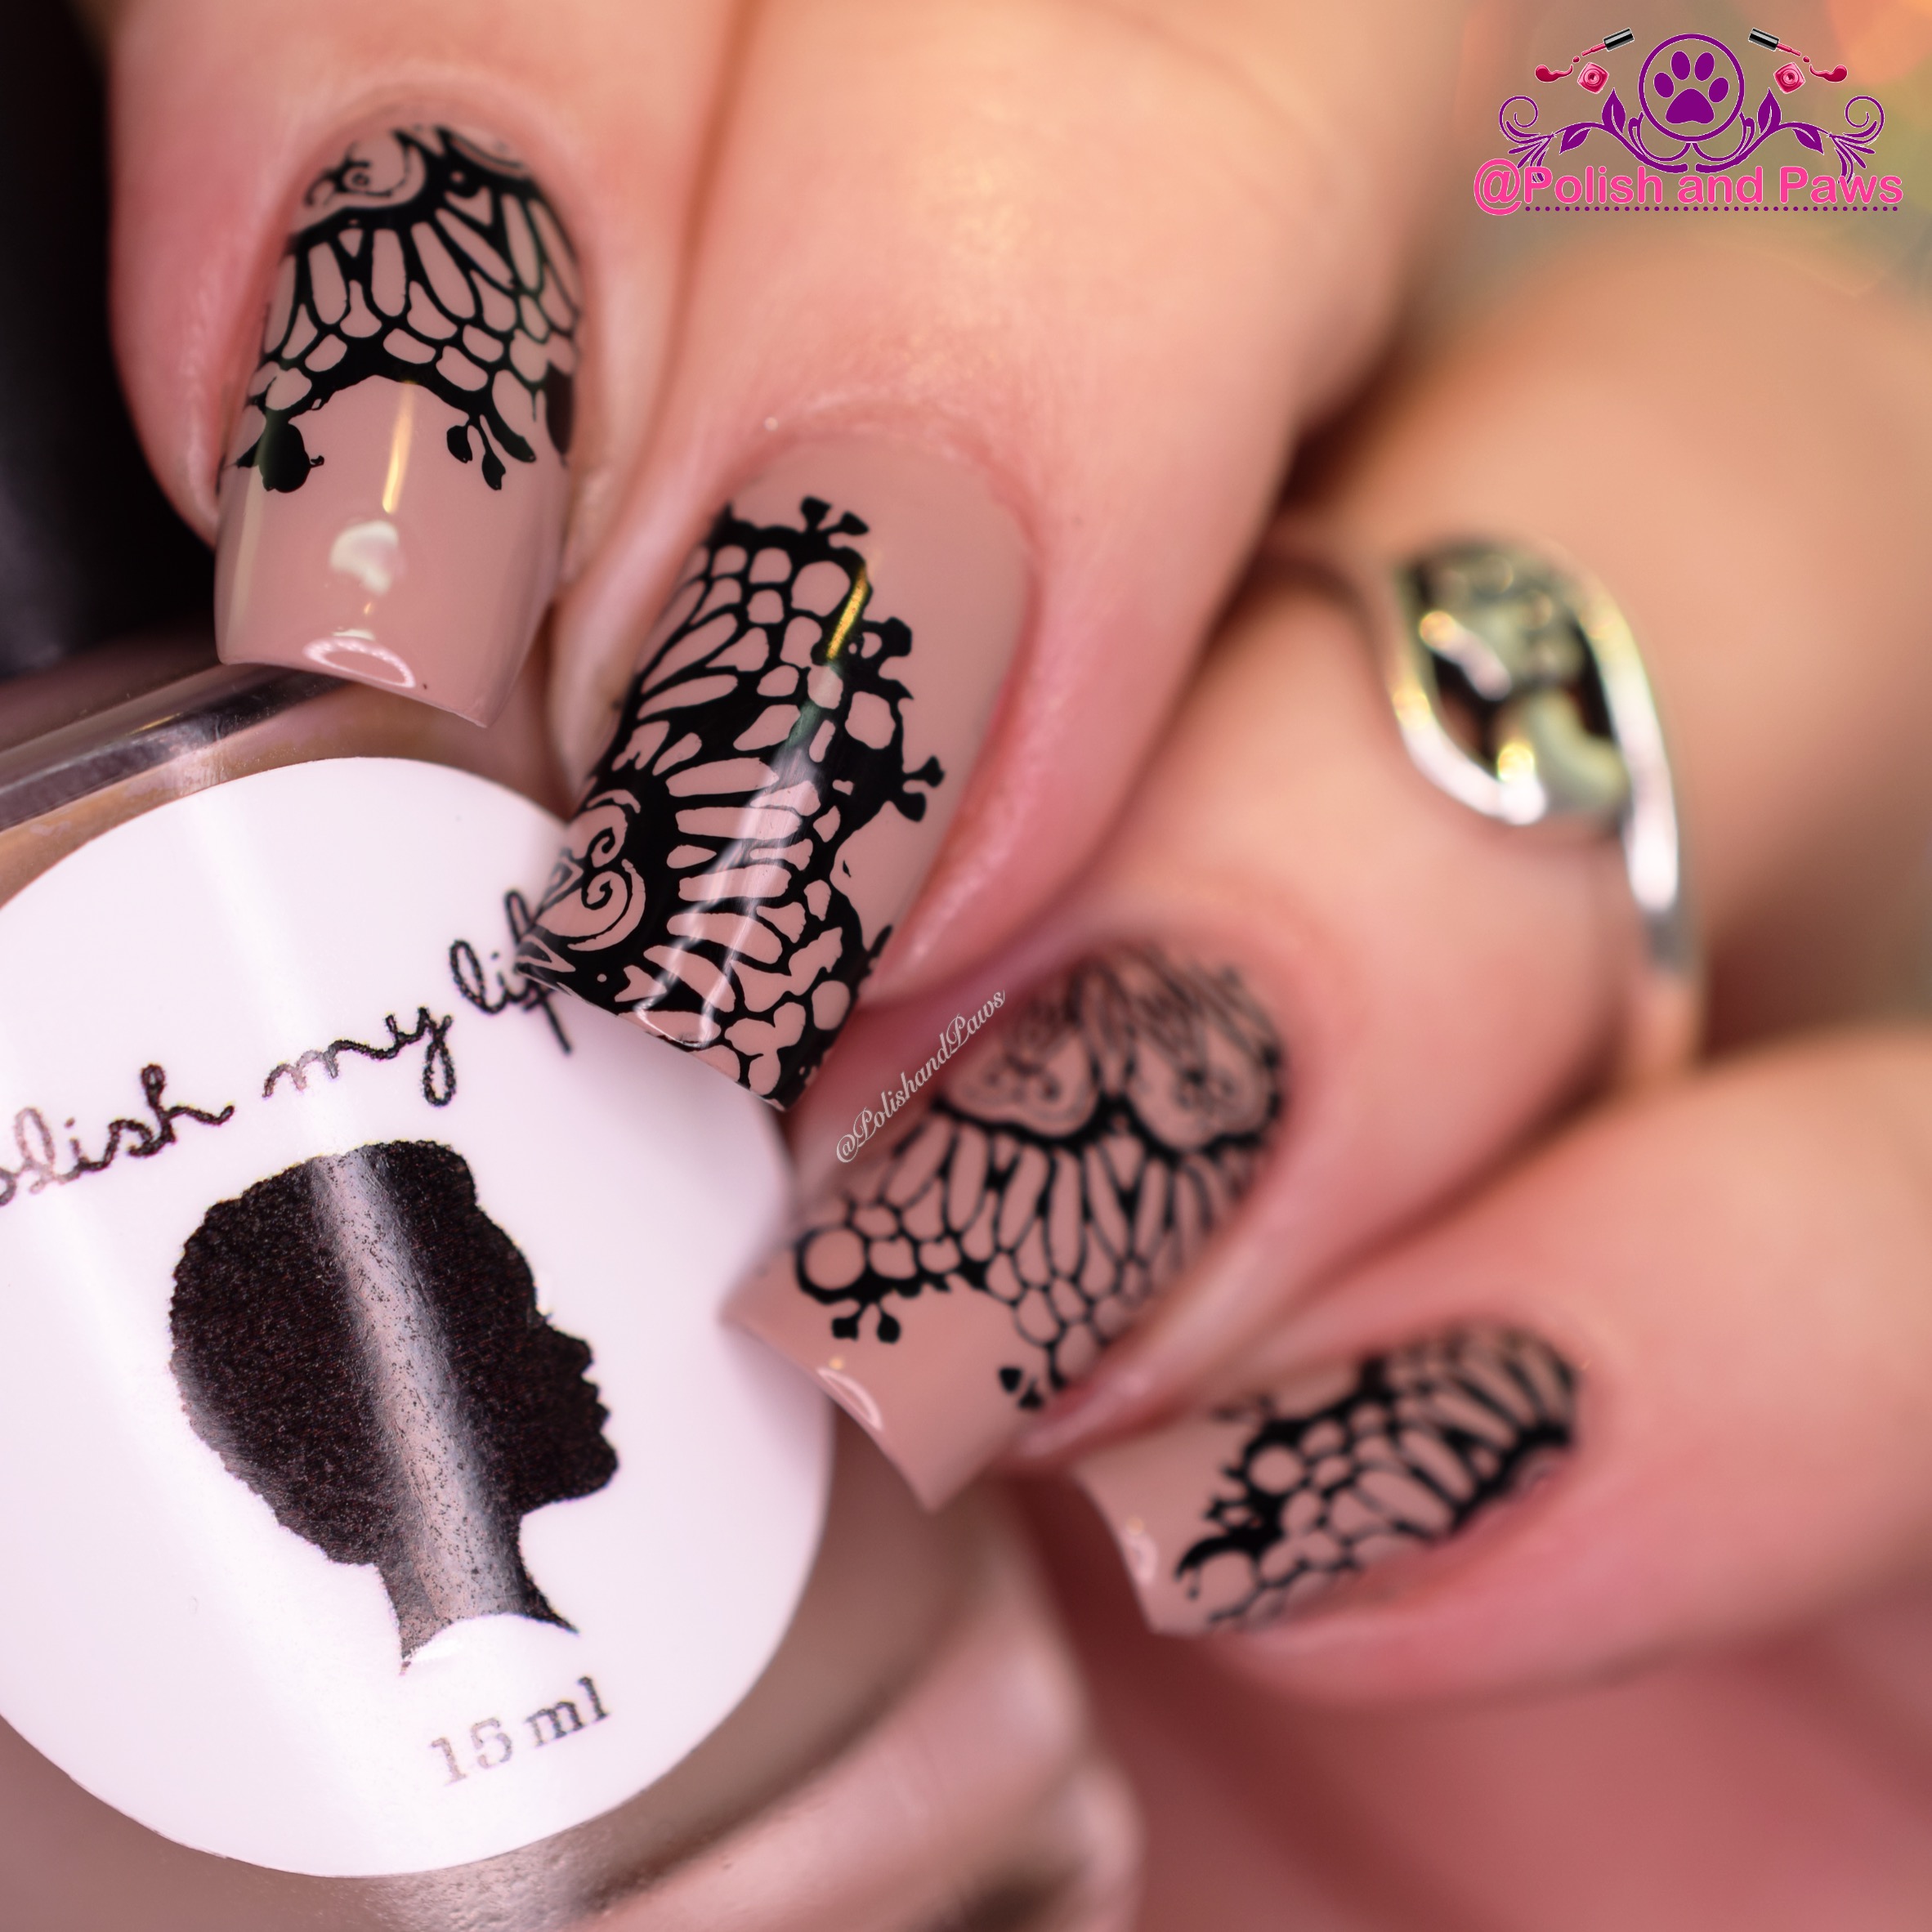
There are 4 patterns to choose from, and I picked the lovely DO14. I paired it with Blackout by Maybelline Color Show and with some gold round studs. I love how these decals look - they are really pretty, have good detailing and the little gold glitter in the centre of some flowers (see my ring finger for example) is just great. My best friend was really jealous of these ;)
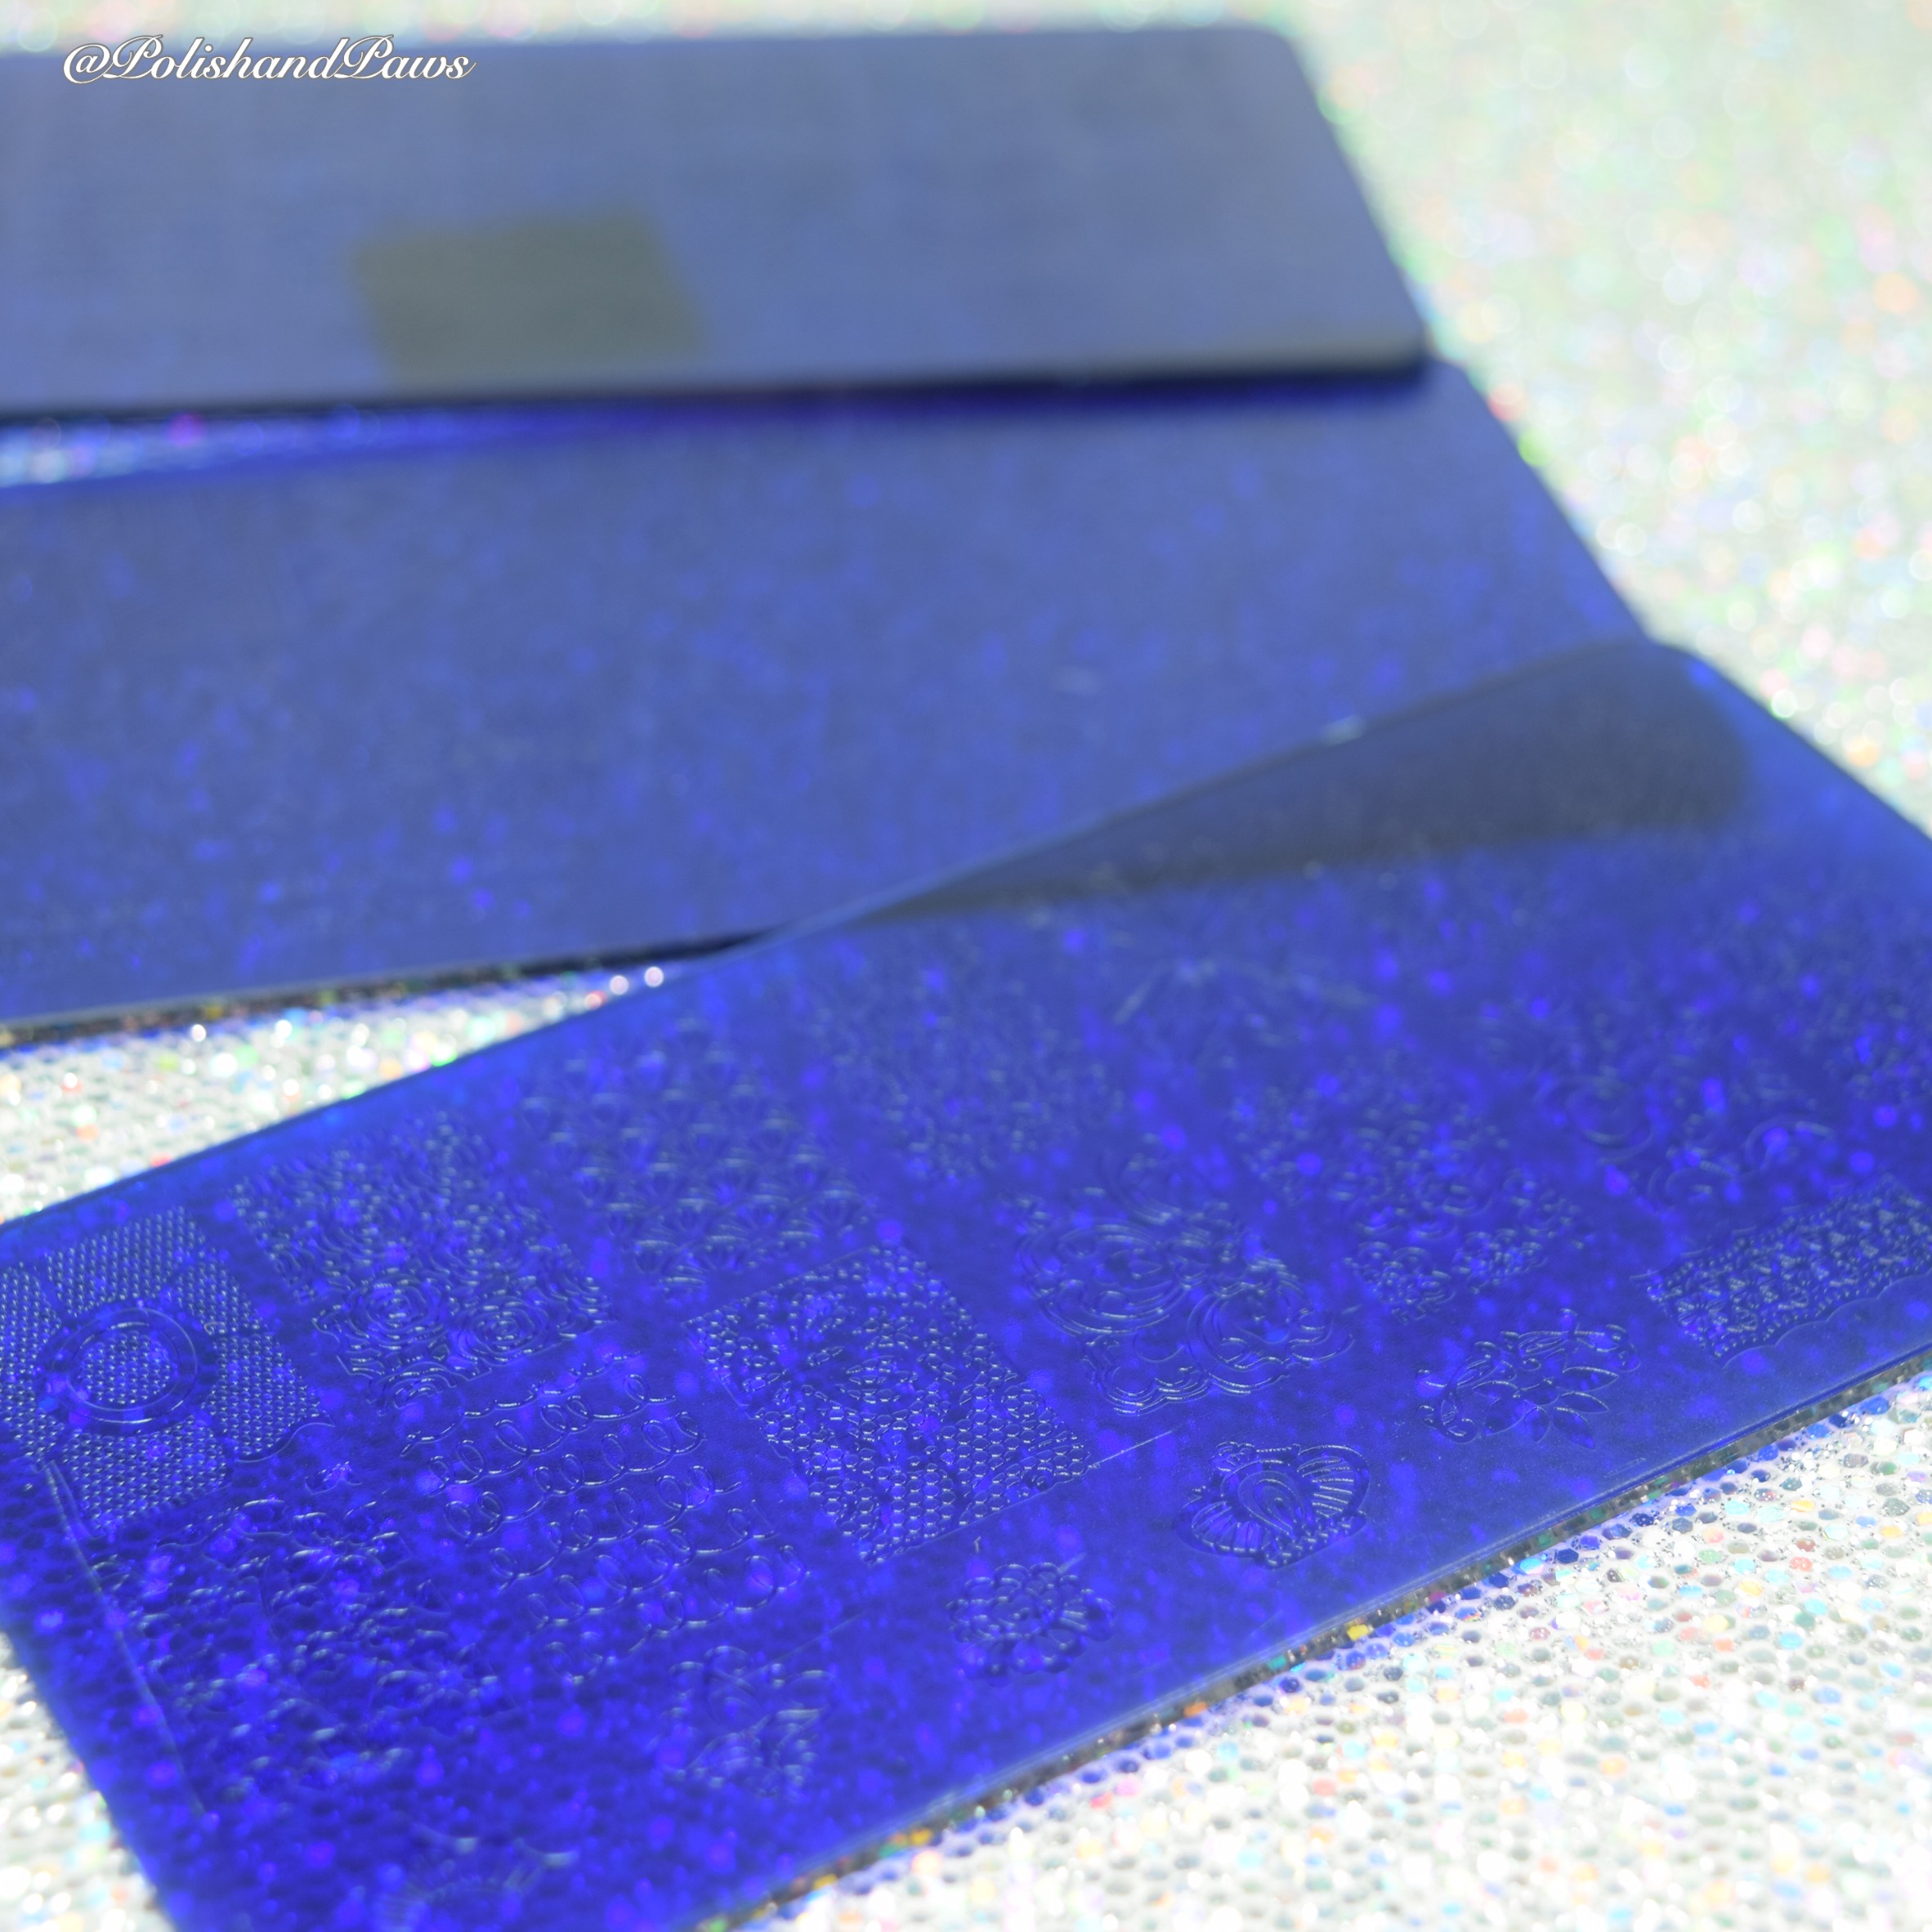
As you can see, the background of the decals is not pitch black like my polish, so there's a very small colour difference.
The water decal sheet is 62mm by 52 mm. It is just large enough to cover your ten nails all with the water decals - if your nails are shorter or smaller then mine, you might even get a bit more out of the sheet.

These full nail decals work just like other water decals: you cut out what you want, soak it in water and put it on your nails. There were some instructions on the back of the package as to how to use the decals, but they are a bit Google Translate-y ;) Since I know how to use water decals, I could understand what they meant but it might be a bit more difficult otherwise. Anyway, I'd actually count these instructions as a plus since I had a good laugh with them.


I made a little pictorial as to how I applied the decals. This is my first pictorial ever so I hope everything's clear. The way I applied these decals isn't the only way to do it - it was the first way I thought of, so it might not even be the easiest or best way but it worked for me.

  1. You will need: water decals, nail polish, a cup with (warm) water, a pencil, some scizzors and some bakery paper.
  2. Put the sheet of bakery paper on top of the nail you want to cover with the decal. As you can see, I first painted my nails black with Blackout, because the background of the decal is black too - it's to cover up any small mistakes with the decal.
  3. Outline the shape of your nail with the pencil on the bakery paper.
  4. Place the bakery paper (with outline) on the sheet of water decals.
  5. Go over the outline a few times on the bakery paper, so the outline is pressed onto the decal sheet.
  6. Cut out the shape in the decal.
  7. Remove plastic film and place the decal in warm water for 10-20 seconds.
  8. Remove the paper from the decal.
  9. Wet your fingernail and place the decal on your nail. Wipe off any excess water, let it dry, and top coat it. Voila!

These decals were easy to use, you just have to get used to using full nail decals at first. I have never used full nail water decals before, so this was my first experience with them - I was surprised it went so smoothly.
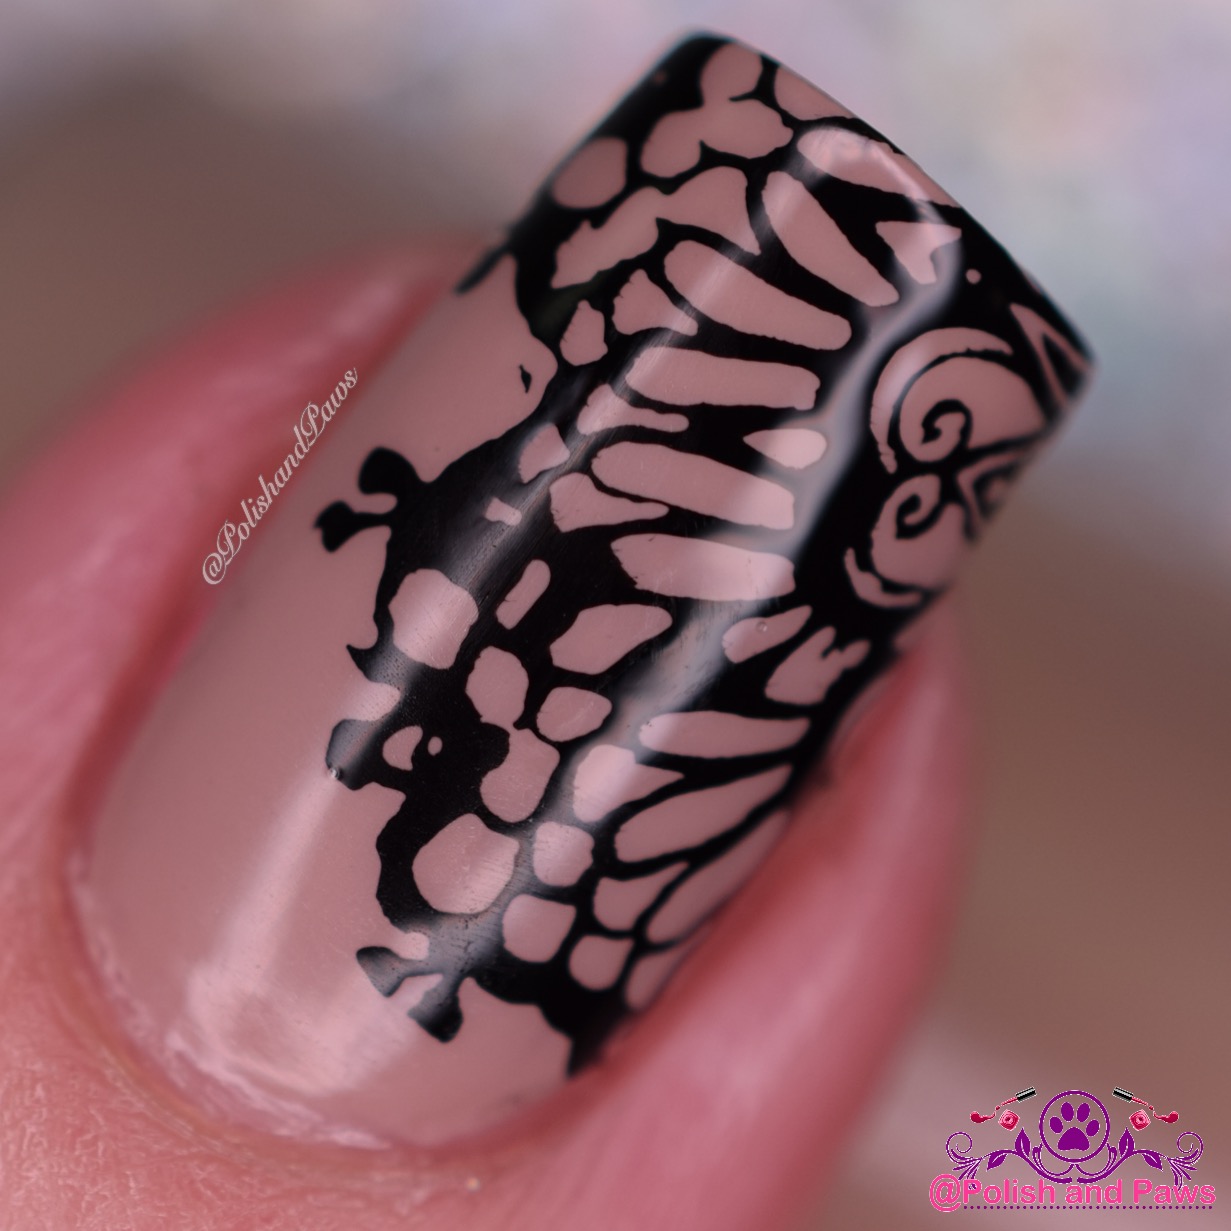
I had one little wrinkle on my middle finger which is only noticeable when I point it out and you look really closely. 
I had also cut the decal a bit too small there - since I painted my nails black first it doesn't stand out too much, but you can see it here on my middle finger.
I already did much better with the second try, on my ring finger: no wrinkles and the decal fitted my nail much better.

Price?: This full nail water decal sheet costs $1.43 at the moment.

Where can you get them?: You can find these decals here on Born Pretty Store. There are 4 different floral patterns to choose from.

BPS LACE CHOKER REVIEW


 I recieved a package from 
bornprettystore with this beautiful heart choker.when I saw it looked amazing but when I tried , it looked mind blowing. i love it and would love more like this one. THANK YOU BORNPRETTYSTORE for sending this item ..............

(( PRESS SAMPLES ))